Before You Start
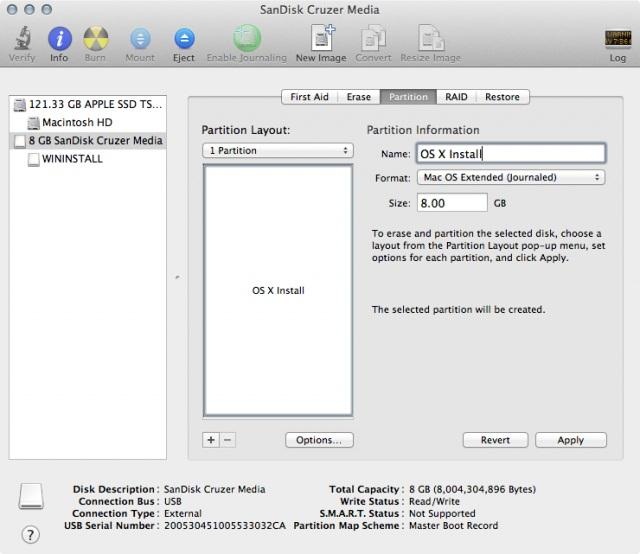
The obvious first step here is to download OS X Mountain Lion. But before you do anything else, a word of caution: once you've used the OS X installer, it will automatically delete the file you need to make the backup disk, so you'll want to either make a copy of the installer or create your disk before you upgrade.You can use a USB flash drive, external hard drive, or DVD-R disc, but the USB drive is quicker. If you're using a USB drive, it has to be formatted as "Mac OS Extended (Journaled)" and set to partition type "GUID Partition Table" in order to work.
The Quick Way
If you want to make the process as painless and automated as possible, there's an app you can use called Lion Diskmaker.
The DIY Way
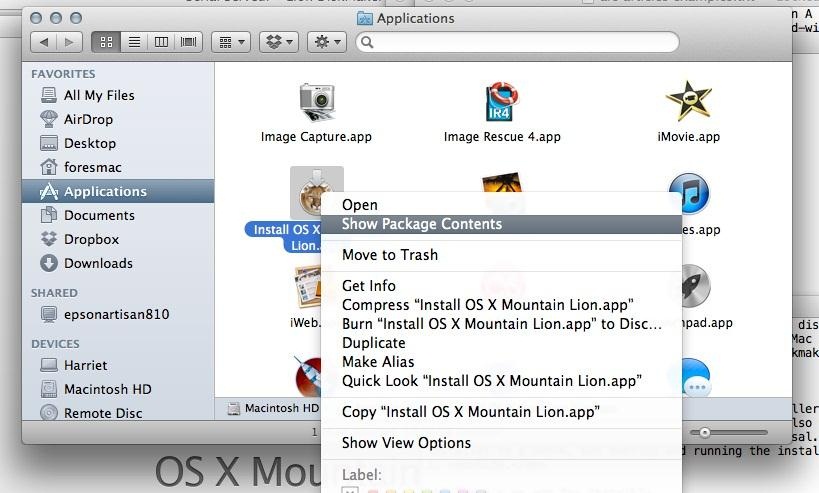
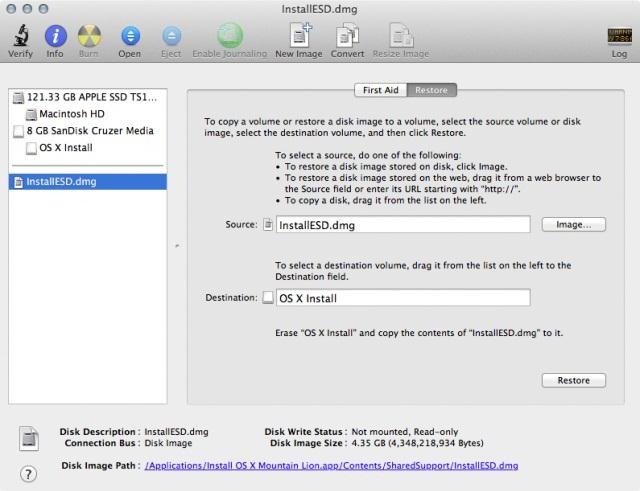
If you'd rather make the disk yourself, you can do it in a few simple steps.Open your Applications folder and right-click on "Install OS X Mountain Lion." Click on "Show Package Contents" and then find the folder called Shared Support.
Next, open Disk Utility. Drag and drop "InstallESD.dmg" into the Source box and click "Restore."
If you need help using your disk to restore your Mac, Apple has a helpful page in its Support section.
No comments:
Post a Comment